Updated April 2025: Stop these error messages and fix common problems with this tool. Get it now at this link
Microsoft offers several ways to prevent you from deleting, renaming, or changing your files or data in Windows so that your information does not fall into the wrong hands.
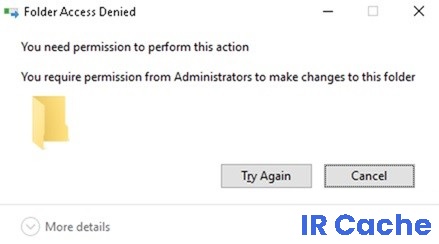
However, some of these protections can get out of hand and result in error messages such as “You need permission to perform this action.” This can happen when you try to open a file, delete a folder, or run an application. Windows can even block certain tasks or actions, whether you are an administrator or not.
If you encounter this error, learn how to fix it with the solutions in this guide.
Table of Contents:
What causes the “You need permission to perform this action” error message?

While it is impossible to determine the immediate cause of this error, users seem to have noticed that the permissions are probably wrong. Permissions allow you to configure user accounts that are not allowed to perform certain actions in order to increase the security of the shared computer.
If these permissions are changed the wrong way, it can lead to errors such as those discussed in this article. This can be catastrophic, because even with an administrator account, you will not be able to create new files and folders or modify or delete existing ones.
Another possible cause could be the use of certain third-party applications or malware infections.
How to fix the “You must have permission to perform this action” error message?
This tool is highly recommended to help you fix your error. Plus, this tool offers protection against file loss, malware, and hardware failures, and optimizes your device for maximum performance. If you already have a problem with your computer, this software can help you fix it and prevent other problems from recurring:
Updated: April 2025

Change the directory owner
- First, find the file that cannot be accessed. Right-click on the file and select Properties.
- Select the Security tab and click Administrator under Group and User Names.
- Click the Advanced button at the bottom.
- In the Owner section, click Edit.
- In the Select User or Group window, click Advanced.
- Then in the Advanced section, click Find Now and select the group that should have full rights to the files on your computer.
- Click OK to close this window.
- Now go to the Permissions tab and click Add.
- Click Select Primary.
- Repeat steps 5 and 6 to select the desired user or group.
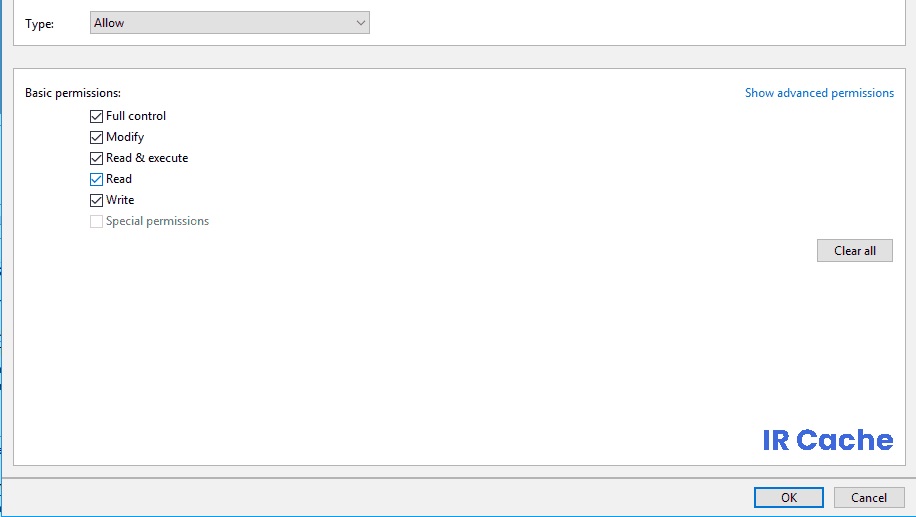
- Set the Type to Allow and check the Full Control option.
- Now click OK to save your changes.
Changing permissions without changing ownership
- Find a file or directory that you can’t access, right-click it, and select Properties from the menu.
- When the Properties window opens, click the Security tab.
- Check the list of available users and groups and click Edit.
- Make sure that the account for which you want to change permissions is listed. If not, go to the next step. If the account is available, go to step 7.
- Click the Add button.
- The Select Users or Groups window appears. If you know the exact name of the user or group, simply enter it in the Enter object names to select, then click Check names and click OK.
- If you don’t know the exact name, click Advanced.
- Click the Search Now button. You should now see a list of all users and groups available on your computer.
- Select the desired group or user in the search results window and click OK to save your changes.
- Click OK again. Now the account you want is added to the list and you can change its security permissions.
- Select the desired account under Group or User Names.
- Now select Full Control under Permissions at the bottom of the Allow column.
- Click Apply and OK to save your changes.
Use the command line to change permissions/security properties
- Press Windows + X to open the Win + X menu, and select Command Prompt (Admin) from the list.
- If Command Prompt is not available, you can use PowerShell (Admin) instead.
- When Command Prompt opens, type takeown /f <path_to_folder> /r /d y and press Enter.
- By running this command, you take ownership of the selected directory or file.
- Now type icacls <path_to_folder> /grant administrators:F /T and press Enter to execute the command.
- You then give the Administrators group full control over the directory.
- If you want to give full control to another user or group, enter the group name.
APPROVED: To fix Windows errors, click here.
Frequently Asked Questions
How do I solve the problem of denying access to a destination folder if the action requires permission?
- Right-click on the folder you want to take over, then click "Properties" in the context menu.
- Click "Security" > "Advanced", then click the "Owner" tab.
- Click the "Edit" button.
- The "Owner" section has been changed.
How do I get administrator permission?
Find "Settings," then open the Settings app. Then click on Accounts -> Family & Other Users. Click on your username and then on Change Account Type. Then select Administrators from the Account Type drop-down list and click OK.
How do I restore a locked file?
Right-click the file or folder and select Properties. Click the Security tab. In the Group or username section, click your name to see the permissions you have. Click Change, click your name, check the boxes for the permissions you want, and then click OK.
How will I know if I need permission for this?
- Disable a third-party antivirus program.
- Scan your computer for malware.
- Reboot your computer in safe mode.
- Check security permissions.
- Change the ownership of the problem item.
- Add your account to the Administrators group.
- Reinstall the affected application.