Updated April 2025: Stop these error messages and fix common problems with this tool. Get it now at this link
To protect your computer from system failure, most of you can create a system image using Windows’ built-in backup and restore feature. If your PC operating system has stopped working, you can use the image file to restore Windows to its previous state.
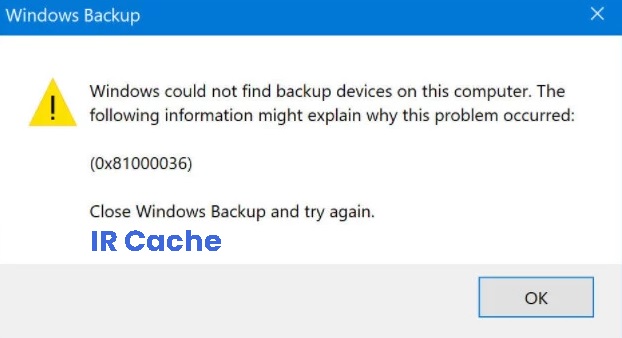
If you restore your PC to a previous state using the system image you created, Windows 10/8/7 may display a System Image Restore Failed error message with error code 0x81000036.
Table of Contents:
What causes error code 0x81000036 when using Windows backup?

- Conflict with Hyper-V: Another potential culprit that could be responsible for this type of Windows backup error code is Hyper-V.
- Conflict with Windows Sandbox: According to many affected users, the most common culprit causing this error code is a conflict between the Windows Sandbox environment and the Windows backup process.
How to resolve error code 0x81000036 when using Windows Backup?
This tool is highly recommended to help you fix your error. Plus, this tool offers protection against file loss, malware, and hardware failures, and optimizes your device for maximum performance. If you already have a problem with your computer, this software can help you fix it and prevent other problems from recurring:
Updated: April 2025


Launch a system file check
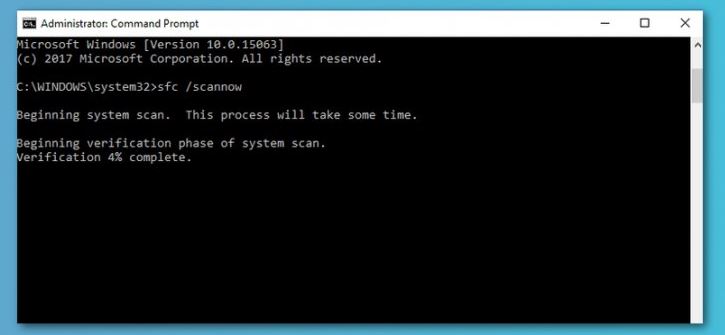
- Locate CMD in the bottom pane and select the Admin command line.
- Run the following commands:
- chkdsk /r
- sfc /scannow
- Press the Enter key after each command and wait for the process to complete.
- Restart your computer after all the checks are finished.
Activate the file history service
- Click on the search bar and type service.MSC.
- Then click on Service to open it.
- Find the file history service.
- Double-click the service and go to Properties.
- There, change the startup type to Automatic.
Disable Hyper-V
- Launch the Control Panel and go to Programs.
- Programs and Features again.
- On the left side, click on Enable or disable Windows features.
- Uncheck the box for the Hyper-V feature.
- Click OK to save your settings.
- Restart your computer.
APPROVED: To fix Windows errors, click here.