- Download and install the software.
- It will scan your computer for problems.
- The tool will then fix the issues that were found.
According to recent reports, three-quarters of Windows 10 users have received the Windows 10 Fall Creators Update.
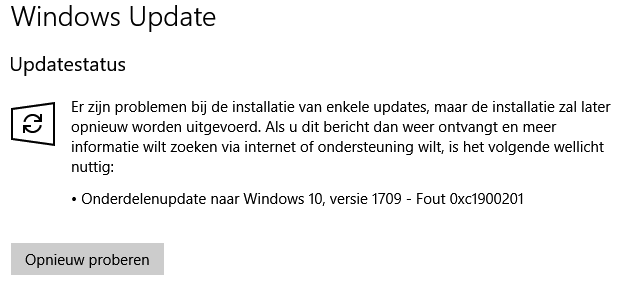
However, some users who recently asked to perform an update to version 1709 have encountered an update error with the code 0xc1900201.
It seems that after several attempts, they can’t fix this error and can confirm that connectivity services or updates are responsible for the said error.
To that end, we’ve compiled a list of the most common solutions designed to either fix the problem or find a viable alternative. If you’re stuck with the 0xc1900201 update error, check out the list below.
Table of Contents:
Run the Windows Update Center Troubleshooter

The Update Troubleshooter is a handy tool built into Windows that is designed to solve various problems related to updates on your computer. If the 0xc1900201 error occurs repeatedly, we recommend that you run this tool once, as it can scan/repair your computer for possible damage. To do this:
Updated: April 2025
This tool is highly recommended to help you fix your error. Plus, this tool offers protection against file loss, malware, and hardware failures, and optimizes your device for maximum performance. If you already have a problem with your computer, this software can help you fix it and prevent other problems from recurring:
- Step 1 : Install the PC Repair and Optimizer Tool. (Windows 10, 8, 7, XP, Vista).
- Step 2 : Click Start Scan to determine what problems you are experiencing with your computer.
- Step 3 : Click Repair Allto resolve all problems.

- First, go to – Settings> Update and Security> Windows Update Center.
- Go to the right and click “Advanced Troubleshooting.”
- Click Windows Update Center, and then click Run Troubleshooter in the expanded area.
- Wait for the troubleshooter to find and restore the programs, applications, etc. etc. culprit.
- Restart your computer.
Rename the Windows Update folder
Over time, update folders become cluttered with unnecessarily saved cache or other data. If you haven’t deleted these folders before, rename them using Explorer. It’s better to rename than delete to avoid unnecessary complications. If the new update folders don’t work as usual, you can still use the old ones. Here’s how to rename the Windows 10 cache folders:
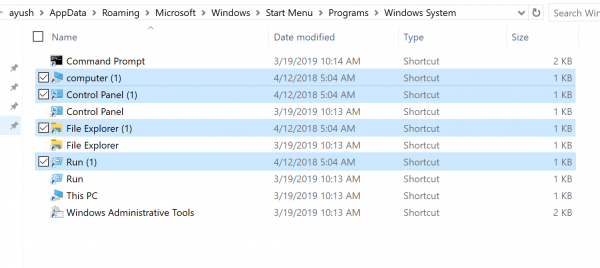
- Go to the C: / Windows path and navigate to the SoftwareDistribution folder.
- Right-click this folder and choose to rename it. Add “.old” to its name and press Enter.
- When the UAC window with the name “File Operation” appears, click Yes.
- Also rename the catroot2 folder to catroot2.old. You can find this folder in C: / Windows / System32.
- Reboot your computer for the changes to take effect. Otherwise, Windows 10 will simply fail and show blue screen errors.
- Windows 10 automatically creates two new folders named “SoftwareDistribution” and “catroot2”.
Deploy the partition reserved by the system
This shouldn’t be something end users have to deal with, but Windows 10 is for you. If it works, it works fine. If it doesn’t, you’ll have to find some complicated workarounds to get it to work.
In this scenario, you need to change the size of the partition reserved by the system to get the latest Falls Creator Update.
The denominations probably range from 100MB, while you will need 200-600MB to update to the latest version of Windows 10.
Perform a new installation

If neither of the previous two steps yielded any results, you can still use the Windows 10 installation media mentioned above and perform a clean installation.
Once your system is fully updated, it should include the Fall Creators update a.k.a. version 1709.
If you don’t know how to perform a clean install of Windows 10, this article provides detailed information and a step-by-step explanation of the entire procedure.
That’s where we can end this article. If you still can’t get it to work and get the same 0xc1900201 error code again, don’t forget to send your ticket to Microsoft.
APPROVED: To fix Windows errors, click here.