- Download and install the software.
- It will scan your computer for problems.
- The tool will then fix the issues that were found.
If the message “The operation could not be completed successfully because the file contains a virus” is displayed, the selected file or program cannot be started. This message can appear when Windows Defender detects a suspicious file on your system. In some cases, these files may contain fake or real malware. In this article, you will learn how to scan your Windows PC and remove malware or how to bypass this error message.
Table of Contents:
What causes the error message “The operation cannot be completed because the file contains a virus”

The error message “The operation cannot be completed successfully because the file contains a virus” is probably displayed if your computer missed a virus file. In other words, if you have downloaded an infected file from an invalid online link, you will probably see this error message. However, you will get a prompt from Windows Defender indicating that the file is potentially dangerous.
However, in some cases, Windows Defender believes that even a genuine file contains a virus or is infected. This is caused by inappropriate coding, and the antivirus can trigger the danger if some of the code matches its recommendations for vulnerable files. Here are the two main causes of this problem.
How to resolve the “The operation cannot be completed because the file contains a virus” problem
Temporarily disable Windows Defender

Microsoft’s built-in antivirus program, Windows Defender, is automatically enabled and actively scans your computer for malware when you’re not using any other frontline defense program. However, sometimes you may need to turn it off for a short period of time, such as when you’re installing another antivirus program or running a specific program that’s incompatible with Defender. Here’s how to disable Windows Defender temporarily in Windows 10.
- In the Start menu, search for “Windows Security” and open the app.
- In the left navigation pane, select “Virus & threat protection.”
- Under “Virus & threat protection settings,” select “Manage settings.”
- Turn off the “Real-time protection” toggle switch.
- If you want to disable Defender permanently, you can do so by opening the Registry Editor and navigating to the following key: HKEY_LOCAL_MACHINE\SOFTWARE\Policies\Microsoft\Windows Defender
- On the right side of the window, create a new DWORD (32-bit) Value with the name DisableAntiSpyware and set its value to 1. Exit the Registry Editor and restart your computer for the changes to take effect.
Perform a system restore
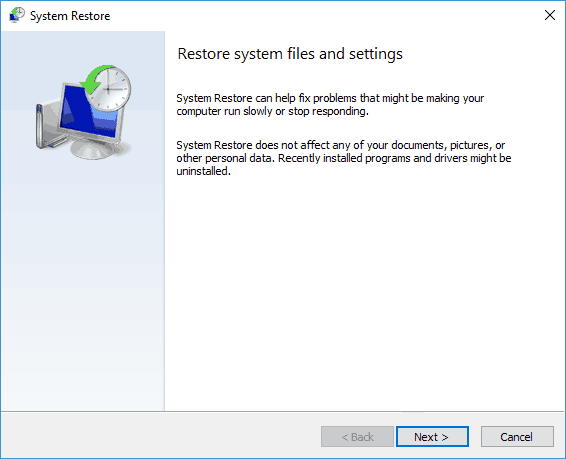
System Restore is a valuable tool that can be used to roll back changes to your computer, including installed programs and drivers, as well as Windows system files. If you’re having problems with your PC, a System Restore can often fix the issue without affecting your personal files. Here’s how to perform a System Restore on Windows 10:
- Open the Start menu and type “Create a restore point.”
- Click the first result to open the System Properties window.
- Under the “System Restore” section, click the “Create” button.
- Enter a description for your restore point and click “Create.”
- Once the restore point is created, click the “Close” button.
- To perform a System Restore, open the Start menu and type “Restore.”
- Click the first result to open the Restoration Wizard window.
- Select the restore point you created and click “Next.”
- Click “Finish” to confirm and begin the restore process.
- Once the restoration is complete, restart your computer if prompted.
Follow these steps and you’ll be able to use System Restore to fix any problems you may be having with your Windows 10 PC.
Updated: April 2025
This tool is highly recommended to help you fix your error. Plus, this tool offers protection against file loss, malware, and hardware failures, and optimizes your device for maximum performance. If you already have a problem with your computer, this software can help you fix it and prevent other problems from recurring:
- Step 1 : Install the PC Repair and Optimizer Tool. (Windows 10, 8, 7, XP, Vista).
- Step 2 : Click Start Scan to determine what problems you are experiencing with your computer.
- Step 3 : Click Repair Allto resolve all problems.

Scan the system with an antivirus program
In order to perform a full scan with Windows Defender on Windows 10, follow the steps below:
- Click on the Start menu and type “Defender” into the search bar.
- Select “Windows Defender Security Center” from the results.
- Click on “Virus & threat protection.”
- Under “Scan options,” click on “Full scan.”
- Click on “Scan Now.”
- Wait for the scan to complete. Depending on the size of your hard drive and the number of files scanned, this may take some time.
- Once the scan is complete, you will see a list of any threats that were found.
- Click on “Remove” to remove any malware that was found.
- You can also choose to “clean” or “quarantine” any threats, depending on your preferences.
Perform a reboot
Clean booting is a process of starting Windows with a minimal set of drivers and startup programs. This helps to eliminate software conflicts that can occur when you install a new program or driver, or when you run certain programs. In order to clean boot your Windows 10 computer, follow these steps:
- Press the Windows key + R to open the Run dialog box.
- Type MSConfig and press Enter.
- In the System Configuration window, go to the Startup tab.
- Select Disable all. This will disable all non-essential programs and services from starting up when Windows starts.
- Click Apply and then click OK.
- Restart your computer for the changes to take effect.
- When you’re done troubleshooting, follow the steps above again, but this time select Enable all in step 4. This will re-enable all of the programs and services that were disabled during the clean boot process.
Disable any third-party antivirus application
Follow these steps to disable your third-party antivirus application on Windows 10:
- Open the Start menu and type “Control Panel” into the search box.
- Click on “System and Security.”
- Under “Security,” click on “Turn off Windows Defender.”
- A message will appear asking if you’re sure you want to turn off Defender. Click “Yes.”
- Your third-party antivirus application will now be disabled.
Update your Windows computer
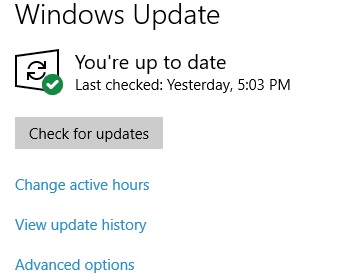
Updating your Windows 10 computer is a simple process that can usually be completed in just a few minutes. Here’s a step-by-step guide to updating your Windows 10 computer:
- Click on the Start button, then select Settings.
- In the Settings window, click on Update & Security.
- In the Update & Security window, click on Check for Updates.
- If any updates are available, they will be downloaded and installed automatically.
- Once the updates have been installed, you will be prompted to restart your computer. Simply follow the instructions on the screen to complete the restart process.
And that’s all there is to it! By following these simple steps, you can ensure that your Windows 10 computer is always up-to-date with the latest security patches and software improvements.
APPROVED: To fix Windows errors, click here.
Frequently Asked Questions
How do you resolve operation did not complete because the file contains a virus?
There are a few different ways to resolve this error, depending on the cause. First, try scanning your computer with an antivirus program to see if any malware is causing the problem. If that doesn't work, try clean booting your computer or disabling any third-party antivirus applications.
Can’t delete a file because it contains a virus?
Using the Safe Mode may help you to delete a stubborn file if your system or the file has been damaged by a virus, since most viruses are activated in normal mode.
How do you run a file that Windows thinks is a virus?
If you trust the file and know it isn't a virus, you can add it to your antivirus program's exceptions list. This will allow the file to run without being blocked.
How do I disable virus protection?
There are a few different ways to disable virus protection, depending on the program you're using. For most programs, you can simply right-click on the icon in the taskbar and select "Disable." If that doesn't work, try opening the program and disabling it from there.