- Download and install the software.
- It will scan your computer for problems.
- The tool will then fix the issues that were found.
The APC_INDEX Mismatch error is one of the most common errors found on Windows 10 PCs. When you encounter this error, it usually indicates that your PC needs to be repaired. You might think that repairing your PC is too much trouble, but it doesn’t take long to fix this problem. In fact, fixing this problem is easier than many people realize. Follow the instructions below to repair your PC quickly and easily.
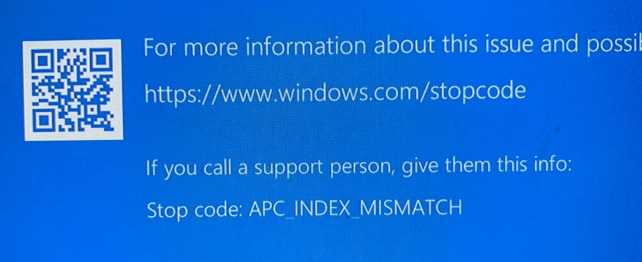
The error appears when trying to print something like a receipt or invoice. You’ll see the following error message:
“Error Code: APC_INDEX Mismatch”
This error code usually happens because the firmware version of the printer is different than the one used to install the software.
Table of Contents:
What are the causes for the ‘APC Index Mismatch’ error?
APC_INDEX_MISMATCH error occurs when the system fails to locate the appropriate driver for the hardware component installed in the machine. This issue usually happens due to incompatibility issues between the operating system and the hardware components. In some cases, it could happen because of improper installation of the device drivers. You can fix this problem by following the given instructions.
How to solve the ‘APC Index Mismatch’ error?
Launch the system file checker tool
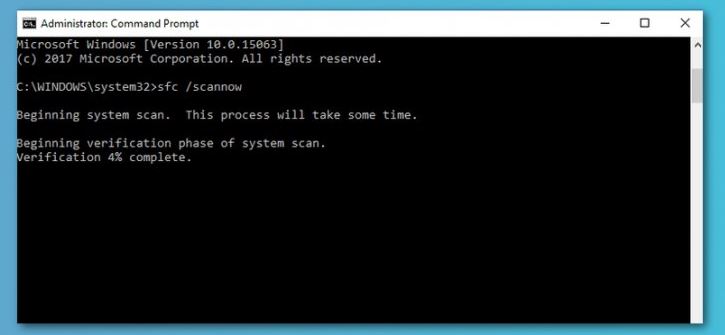
Open elevated command prompt. Type “sfc /scannow”. Allow the scan to check system for corrupted system files. Reboot the computer. If you still see the same issue, try the following steps.
1. Go to the Start menu and type regedit.exe. Press enter.
2. In Registry Editor, navigate to HKEY_LOCAL_MACHINE\SYSTEM\CurrentControlSet\Services\LanmanServer\Parameters. Double-click on Parameters.
3. Change the value of DisableNtfsFsRedirection to 0. Click OK twice. You might want to reboot again.
4. Close RegEdit.
5. In Windows Explorer, go to %windir%\System32. Right-click on ntdll.dll and select Properties. Select the Compatibility tab. Set Run this program in compatibility mode for Win7. Click Apply and Ok.
6. Restart the computer.
Updated: April 2025
This tool is highly recommended to help you fix your error. Plus, this tool offers protection against file loss, malware, and hardware failures, and optimizes your device for maximum performance. If you already have a problem with your computer, this software can help you fix it and prevent other problems from recurring:
- Step 1 : Install the PC Repair and Optimizer Tool. (Windows 10, 8, 7, XP, Vista).
- Step 2 : Click Start Scan to determine what problems you are experiencing with your computer.
- Step 3 : Click Repair Allto resolve all problems.

Uninstall software that you don’t need
Uninstalling the software from Windows is often a hassle. You might end up deleting important files, losing data, or even having to reinstall everything. Luckily, there are third-party tools that make it easier to clean up your computer. Here’s how to use it.
1. Start downloading and installing the third-party tool. When prompted, select the option to run the setup file automatically.
2. After installation finishes, launch the application and log into your account.
3. Click on the Tools tab and press Delete Selected Items. Select the items you want to delete from your system.
4. Press OK to confirm the deletion process.
5. Finally, restart your computer.
The device driver should be updated
As discussed, this BSOD error occurs because of a corrupt, outdated driver issue. So first find out and try to update or re-install problematic drivers, particularly the display graphics driver, audio sound, and network adapter driver. Update Driver – To update or reinstall the device driver, follow the steps mentioned below:
Step 1: Open Start Menu, select the Run option and type devmgmt.MSC and press Enter.
Step 2: This will open the Device Manager and list all installed driver lists. Here check any driver with a yellow triangle with an exclamatory mark. If you see such a driver, right-click it and choose Properties.
Step 3: Click on the Driver tab and look for the version number of the driver listed there. In case you are unable to locate the version number, go to the bottom of the screen and click on the Details button. You will now see the version number displayed under the name of the driver.
Step 4: Go to the manufacturer’s website and download the latest version of the driver. Install it and restart the system.
Step 5: Check whether the problem still persists.
If yes, repeat step 2 again and repeat step 3 to check the version numbers of the driver. If necessary, download the newest version of the driver from the manufacturer’s site.
Turn off the fast startup feature
If you are facing problems while booting up Windows 10, it could be due to the fact that you have enabled the Fast Startup feature. If you have disabled this feature, you might experience some issues during the boot process. You can easily turn off the Fast Startup feature by following the steps mentioned below.
- Open Control Panel.
- Click on Power Options.
- Select Change plan settings.
- Uncheck the ‘Turn On Fast Startup’.
- Restart PC.
You can now enjoy a smooth boot without worrying about the system hanging.
Make Sure your System is Updated
Microsoft released KB5001567 with fixes for Blue Screen Error APPC INDEX Mismatch. This update addresses an issue that might cause a blue screen when attempting to print to certain printers using some apps and might generate the error “APPC Index mismatch”.
The following steps are required to install the patch:
1. Download the Microsoft Security Bulletin MS05-049 (KB5001567) from the link provided in the article.
2. Double-click on the downloaded file to start the installation process.
3. Follow the instructions given on the screen to complete the installation.
4. Restart the computer after the installation completes successfully.
APPROVED: To fix Windows errors, click here.
Frequently Asked Questions
How do I fix the APC index mismatch?
- Update to the latest version of Windows 10.
- Install a newer version of Realtek High Definition.
- Use the basic Windows audio driver.
- Make sure that all drivers are installed correctly.
- Uninstall the Display Link driver.
How do I fix the APC index mismatch in win32kfull?
- Go to Start -> Settings -> Update and Security -> Windows Update.
- Click View update history.
- Select the security update for Microsoft Windows (KB5000802) and click Uninstall.
- Restart your computer after uninstalling it.
How do I fix print errors in Windows 10?
- Open the printer troubleshooter.
- Delete the print pool folder.
- Check the connection settings of the printer.