Updated April 2025: Stop these error messages and fix common problems with this tool. Get it now at this link
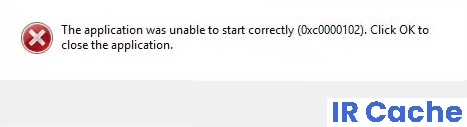
This article explains how to troubleshoot error 0xc0000102 – Application could not run correctly on a Windows PC. If you are running an application on your computer and get the error message “This application could not run correctly”, it means that your system has encountered a problem when running the application.
Below are the following reasons for this error.
Table of Contents:
What causes the error 0xc0000102?
The error code “0xc0000102” is an error name that contains detailed information about the fault, including the cause of the error, which system component or application failed, and some other information. The numeric code in the error name usually contains data that can be deciphered by the manufacturer of the component or application in which the failure occurred.
The problem associated with this code can occur in different places in the system, so even if some details are included in the name, it is still difficult for the user to determine the cause of the problem and fix it without specialized technical knowledge or appropriate software.
How to solve the error 0xc0000102
This tool is highly recommended to help you fix your error. Plus, this tool offers protection against file loss, malware, and hardware failures, and optimizes your device for maximum performance. If you already have a problem with your computer, this software can help you fix it and prevent other problems from recurring:
Updated: April 2025

Perform an automatic repair
- Turn on the computer if it is not already on.
- Then insert the Windows installation media into your computer and restart it.
- After the boot screen, find a black screen that says “Press any key to boot from CD or DVD”. When this screen appears, press any key to boot from the installation media you inserted in step 2.
- On the next screen, click the “Restore Computer” hyperlink at the bottom of the screen.
- After a few seconds, you will be redirected to a troubleshooting menu where you can choose from several options.
- Select the Troubleshooting option.
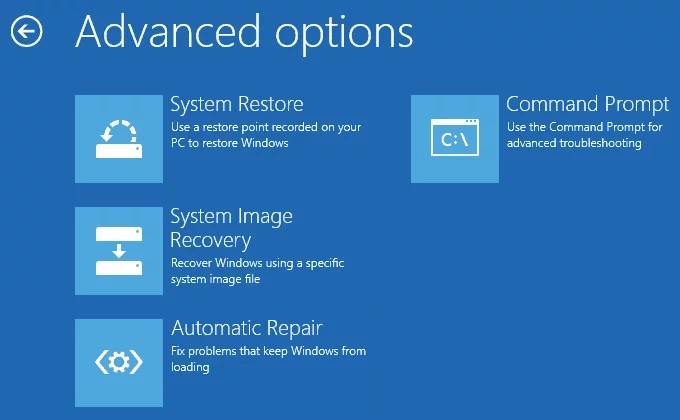
- From the Troubleshooting menu, select Advanced Options from the list of recovery options.
- Once the Auto Repair Utility starts, a pop-up window will appear, prompting you to select the Windows operating system you are using.
- The Auto Repair Utility will then begin the scanning process and fix any errors that may be causing your system to display this particular error code.
- Once the process is complete, remove the installation media and reboot your computer.
- During the next boot sequence, make sure that the boot process completes without the same error code.
Allow MMC applications to run
- Press Windows + R to open the Run dialog box.
- Then type “MSConfig” in the text box and press Ctrl + Shift + Enter to open the system configuration utility with administrator access.
- Once in the “System Configuration” menu, open the “Startup” tab and check the “Secure Boot” box, then click “Apply” to save your changes.
- Reboot your computer and wait for it to reboot in Safe Boot Mode.
- Once your computer has rebooted, press the Windows + R keys to open the “Run” dialog box.
- Then type “secpol.MSC” in the text box and press Ctrl + Shift + Enter to open the local security policy editor with administrator privileges.
- Once in the local security policy editor, go to Local Policies > Security Options and double-click User Account Control: Run all administrators in admin approval mode.
- Disable the problematic policy in the corresponding policy menu before accessing the system configuration again and disabling secure boot mode.
- Reboot the computer and see if the error is resolved on the next startup.
APPROVED: To fix Windows errors, click here.
Frequently Asked Questions
How to fix error 0xc0000102?
- Create a repair virtual machine and access it.
- Repair or replace the corrupted file.
- Enable serial console and memory image acquisition.
- Rebuild the virtual machine.
Does Auto Restore delete files?
Regardless of the option you select, some data may be deleted during an upgrade or reset. It is recommended that you back up important files before you perform an auto restore.
How do I open the Windows Auto Repair program?
- Go to the Advanced Startup Options menu in Windows 10.
- After your computer boots, select Troubleshooting.
- Then, you should click on Advanced Options.
- Click on Auto Repair startup.
- Click System Restore.