Updated April 2025: Stop these error messages and fix common problems with this tool. Get it now at this link
This problem often occurs after updating audio drivers via Windows Update. Since it is unlikely that the new drivers will contain an extension driver, you can use a third-party solution to solve the problem.
If you find yourself in this situation, don’t panic: this problem has no specific cause. The most common cause of this problem is a problem with your drivers. In this article, we have described all possible scenarios to solve this problem.
Table of Contents:
What causes the “Realtek Audio Console is not supported by this computer” problem?

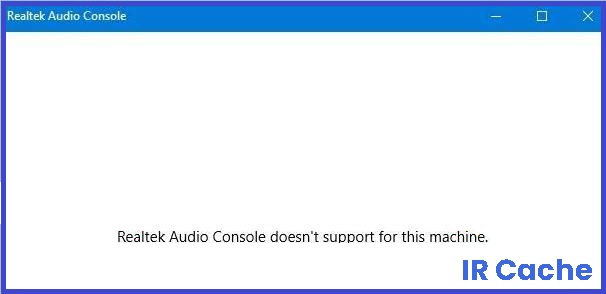
The “Realtek Audio Console is not supported by this computer” problem occurs in Windows 10 editions. It is caused by Windows Update and always occurs after installing Windows Update. When Windows Update is automatically installed on your computer, it can update Realtek audio drivers.
However, the Realtek audio driver provided by Windows does not contain an INF extension to access Realtek audio management. Therefore, to access Realtek audio management again, you must install the Realtek audio driver, including the INF extension.
How can I fix the error message “Realtek audio console is not supported on this computer”?
This tool is highly recommended to help you fix your error. Plus, this tool offers protection against file loss, malware, and hardware failures, and optimizes your device for maximum performance. If you already have a problem with your computer, this software can help you fix it and prevent other problems from recurring:
Updated: April 2025


Reinstall the drivers
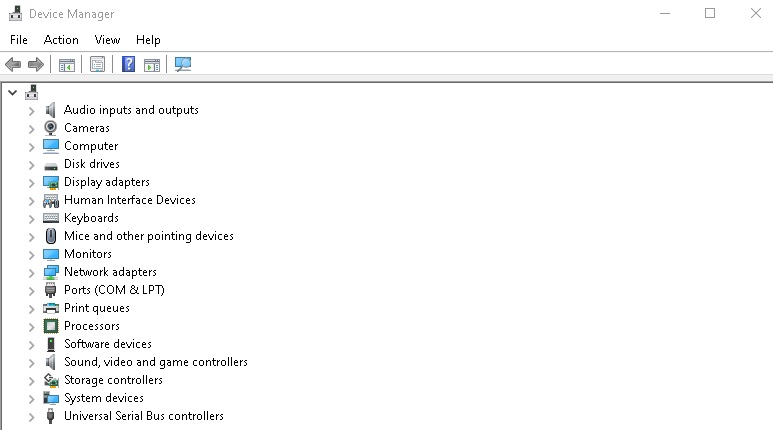
- Open the Device Manager.
- Find the “Sound, video, and gaming controllers” section and double-click it.
- Find the Realtek High Definition Audio device, right-click it and select Uninstall.
- Follow the rest of the instructions.
- After uninstalling the driver, click Actions on the top menu bar and select Check Hardware Changes.
- Then reboot the system and see if the problem persists.
Restore the Realtek Audio Manager
- Press the Windows + R key.
- A dialog box will appear where you type appwiz.CPL and press Enter.
- Find Realtek Audio Manager and select it.
- Click Repair and follow the instructions on the screen.
- Now reboot your system and the problem should be resolved.
Use the hardware and device troubleshooter
- Open the Settings app.
- Go to the Update and Security section.
- Select Troubleshooting from the left-hand menu.
- Select Hardware and Devices and click Perform Troubleshooting.
- Follow the steps shown on the screen to complete the troubleshooting.
Reset your driver settings
- Open the Device Manager.
- Expand Audio, Video, and Game Controllers.
- Double-click the sound driver. Select the Drivers tab and click Reset Drivers.
APPROVED: To fix Windows errors, click here.