Updated April 2025: Stop these error messages and fix common problems with this tool. Get it now at this link
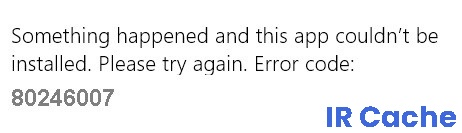
Error code 80246007 simply means that the update has not been downloaded. This problem occurs when Windows has an update that needs to be installed – but failed to download it from the Windows repositories.
Table of Contents:
What causes Windows Update error code 80246007?
- Corrupt system files.
- Problems with anti-virus software.
- Damaged or missing Windows Update components.
How to resolve Windows Update error code 80246007?
This tool is highly recommended to help you fix your error. Plus, this tool offers protection against file loss, malware, and hardware failures, and optimizes your device for maximum performance. If you already have a problem with your computer, this software can help you fix it and prevent other problems from recurring:
Updated: April 2025

![]()
Restart the Background Intelligent Transfer Service (BITS) and the Windows Event Log
- Go to the Control Panel and enter Administrative Tools in the search box.
- Select Administrative Tools.
- Double-click Tools. You may be prompted for an administrator password.
- Locate the Background Intelligent Transfer Service (BITS), right-click it, and select Properties.
- On the General tab, locate Startup Type and make sure that Automatic (delayed start) is selected.
- Click Service Status and check if the service is running. If it is not, click Start.
- Click OK and close the Properties dialog box.
- Right-click the Windows Event Log Service and select Properties.
- On the General tab, make sure that Startup Type is set to Automatic.
- Look at the status of the service and see if it is running. If it is not, click Start to enable it.
Use PowerShell to reinstall applications
- Type PowerShell in the search bar.
- Right-click and select the Create with administrator privileges checkbox.
- Type: “Get-appxprovisionedpackage -online | where-object {$_.packagename -like “*windowscommunicationsapps*”} | remove-appxprovisionedpackage -online’.
- Now try to install apps from the Store again.
APPROVED: To fix Windows errors, click here.
Frequently Asked Questions
How do I fix error code 80246007?
- Disable your antivirus program and firewall.
- Check Windows Update and your Internet connection.
- Check your system image and files.
- Manually reset Windows Update components.
How do I fix my Windows 10 update problem?
- Open Settings.
- Click Update and security.
- Click on Troubleshooting.
- Under Start and Run, select the Windows Update option.
- Click Run Troubleshooting.
- Click the Close button.
How do I reset Windows Update?
- Download the Windows Update troubleshooter from the Microsoft website.
- Double-click WindowsUpdateDiagnostics.
- Select the Windows Update option.
- Click the Next button.
- Click the Try to troubleshoot as an administrator option.
- Click the Close button.