Updated April 2025: Stop these error messages and fix common problems with this tool. Get it now at this link
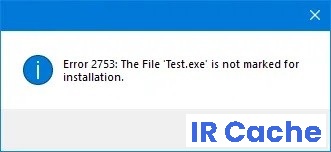
When you try to install a program on a Windows 11/10 computer, you may get a 2753 error. Sometimes packages are corrupt, or maybe the packages don’t work properly or can’t create files or paths. One such annoying error: Error 2753, File not marked for installation.
This error is not just related to certain files. It can happen to any file, whether it’s an executable or an MSI file. Let’s see how you can fix this error.
Table of Contents:
What causes error 2753 “File not marked for installation”?

- The InstallShield folder is corrupted.
- Adobe Shockwave has not been installed correctly.
How do I fix the 2753 ‘File not marked for installation’ error?
This tool is highly recommended to help you fix your error. Plus, this tool offers protection against file loss, malware, and hardware failures, and optimizes your device for maximum performance. If you already have a problem with your computer, this software can help you fix it and prevent other problems from recurring:
Updated: April 2025

Restore the corrupt InstallShield folder
- Close the error window and go to C:\Program Files\Pinnacle.
- Delete the “Studio12” or “Studio14” folder, depending on your installation preference.
- Then go to C:\Program Files \Common Files and delete the folder.
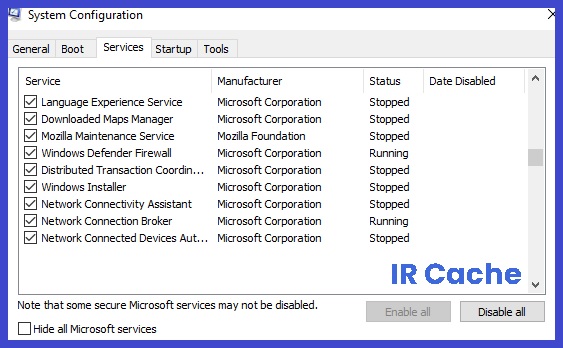
- Then press Win + R to open a “Run” window, and type the command MSConfig.
- Press Enter to open the System Configuration window.
- On the Services tab, locate the Windows Installer service and check the box (if it’s not checked).
Reinstall Adobe Shockwave
- Go to the Adobe Shockwave website here.
- Use the uninstaller to remove Adobe Shockwave and reboot your system.
- Go back to the same website and install the latest version of Adobe Shockwave.
- Then reboot the system.
Launch the installation file as an administrator
- Right-click on the installation file and select Run as administrator.
- The User Account Control (UAC) prompt will appear. Click Yes and check to see if the file can be run or not.
APPROVED: To fix Windows errors, click here.
Frequently Asked Questions
What does the error message 2753 “File not marked for installation” mean?
Sometimes packages get corrupted, or packages don't work correctly, or can't create files or paths.
What causes the 2753 'File not marked for installation' error message?
- The InstallShield folder is corrupted.
- Adobe Shockwave was not installed correctly.
How do I solve the error code 2753 'File not marked for installation' issue?
- Close the error window and go to C:\Program Files\Pinnacle.
- Delete the "Studio12" or "Studio14" folder, depending on your installation preference.
- Then go to C:\ Program Files \ Common Files and delete the folder.
- Then press Win + R to open a "Run" window, and type the command MSConfig.
- Press Enter to open the System Configuration window.
- On the Services tab, locate the Windows Installer service and select the check box (if it is not checked).