Updated April 2025: Stop these error messages and fix common problems with this tool. Get it now at this link
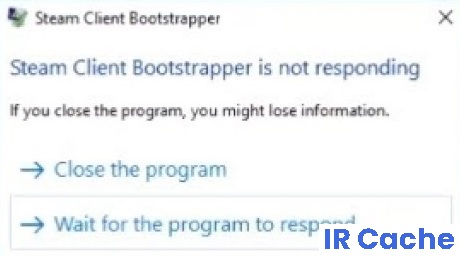
If you’re a video game enthusiast, it’s unlikely that you’re not familiar with the Steam platform. It’s a great platform overall, but it gets annoying when you get a message on your screen that the Steam client loader isn’t responding.
This error is also one of the most common bugs that users of this platform have reported to developers. In this article, we will look at various methods to fix the ‘Steam Bootstrapper does not respond’ error.
Table of Contents:
What is the reason for ‘Steam Client Bootstrapper not responding’?
![]()
Steam Client Bootstrapper program may not respond on your computer for various reasons. Sometimes it can be due to corrupted Steam files, sometimes it can be due to a malfunction. Your antivirus software may also block the Steam Client application or service, preventing it from working on your system.
How to solve the “Steam Client Bootstrapper is not responding” problem?
This tool is highly recommended to help you fix your error. Plus, this tool offers protection against file loss, malware, and hardware failures, and optimizes your device for maximum performance. If you already have a problem with your computer, this software can help you fix it and prevent other problems from recurring:
Updated: April 2025


Check the integrity of your game files
- Reboot your computer and restart Steam.
- Go to your library and right-click on the game that is causing you problems.
- Click on the properties of the game and select the “Local Files” tab.
- Click on “Check game file integrity” and Steam will check the game within a few minutes.
Updating your Steam files
- Exit Steam and go to the Steam directory (C:/Program Files (x86)/Steam).
- If you chose a custom installation location, navigate to it.
- Go to the “logs” folder and open the “txt” folder.
- Go to the end of the text file and find the current errors.
Perform a clean boot
- Press “Windows” + “R” to open the “Run” prompt.
- Type “Control Panel” and press “Enter” to open the classic Control Panel.
- In the Control Panel, click on the “Hardware and Sound” option, then click on “Power Options”.
- In the power settings, click on the “Choose what the power button does” option on the left side.
- Click the “Change Settings” option if the QuickStart option is grayed out.
- Uncheck the “Enable Quick Startup” option and save the changes.
- Close the window and quit all unnecessary applications.
- Bring up the Start menu, click on “Power Options” and select “Shutdown” from the list.
- This option should completely shut down your computer.
- After completely shutting down, wait a few minutes before turning your computer back on.
- After turning your computer on, check that the Steam client loader is actually responding.
Update the GPU driver
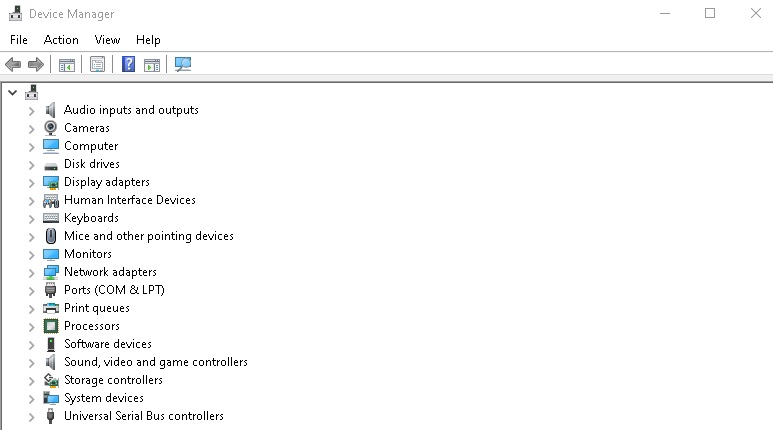
- Press “Windows” + “R” to open the “Run” prompt.
- Type “Devmgmt.MSC” and press “Enter” to launch the Device Manager.
- In Device Manager, double-click the “Display Adapters” option to expand it, then right-click on the GPU drivers your computer is using.
- Click on the “Update Drivers” option, then select the “Automatically check for updated drivers” button.
- Wait for this screen to automatically search for missing drivers and automatically install them on your computer.
- Follow the instructions on the screen to make sure these drivers are installed on your computer.
- Check to see if installing the drivers solves the problem on your computer.
APPROVED: To fix Windows errors, click here.
Frequently Asked Questions
Why doesn’t my Steam client Bootstrapper respond?
Bootstrapper is a service that runs when you open the Steam client application. It scans your computer, checks for resources, and prepares everything for Steam to run. This is an important component that makes a huge difference, if the bootstrapper has a problem, Steam won't start.
What is the Steam Client Bootstrapper?
The Steam Client Bootstrapper application should not consume a lot of CPU resources on your computer. It is a background application that is used to download and install updates or replace missing files. However, users report that this process consumes CPU resources even when Steam is idle.
How to fix Steam on Windows 10?
- Open Task Manager on your Windows 10 system by pressing Ctrl+Shift+Esc on your keyboard.
- In the "Processes" section of Windows Task Manager, find "Steam" or "Steam Client Service".
- Right-click on the process and select "Jump to Details" to continue the process.